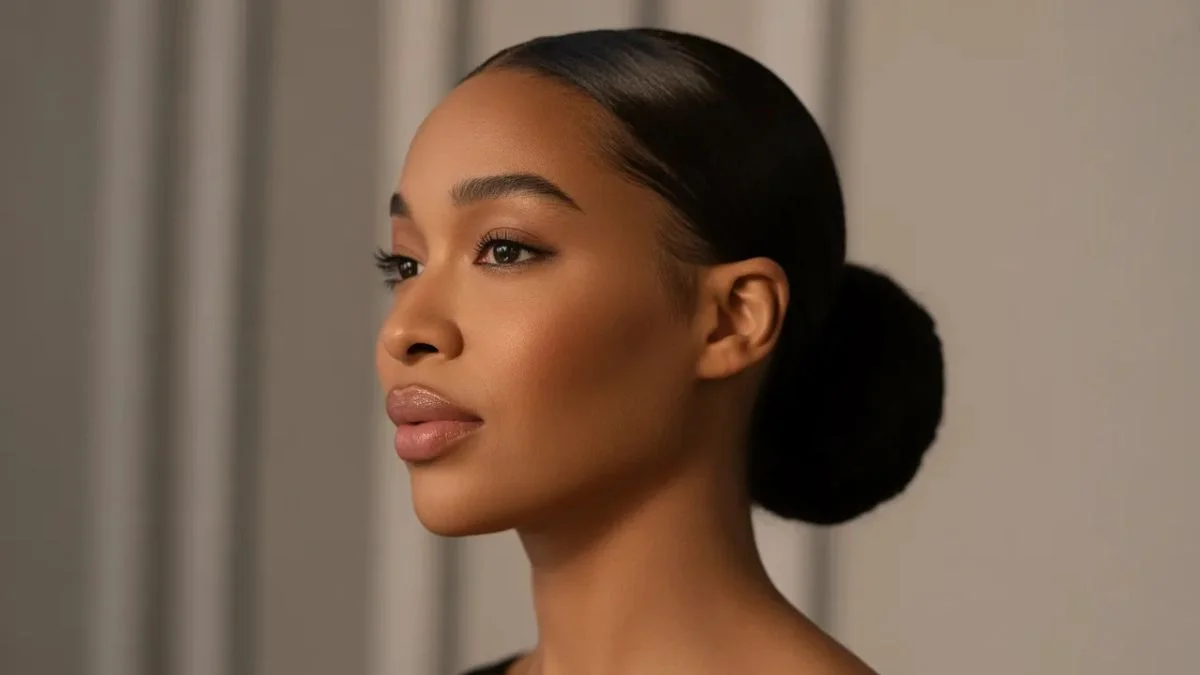
How to Style Slick Back Bun Hairstyles on Natural and Relaxed Hair
Getting a perfectly smooth bun starts long before the hair tie goes in. Slick back bun hairstyles look stunning on everyone — but on natural and relaxed hair, the technique matters just as much as the style itself.
Too many women end up with a frizzy crown, stiff edges, or a bun that falls apart by noon. The problem isn’t your hair — it’s the method. Whether your hair is naturally coily, chemically relaxed, or somewhere in between, this guide breaks down exactly how to achieve a sleek, polished bun that holds all day and keeps your scalp and strands healthy in the process.
What Makes Slick Back Bun Hairstyles Work on Natural and Relaxed Hair
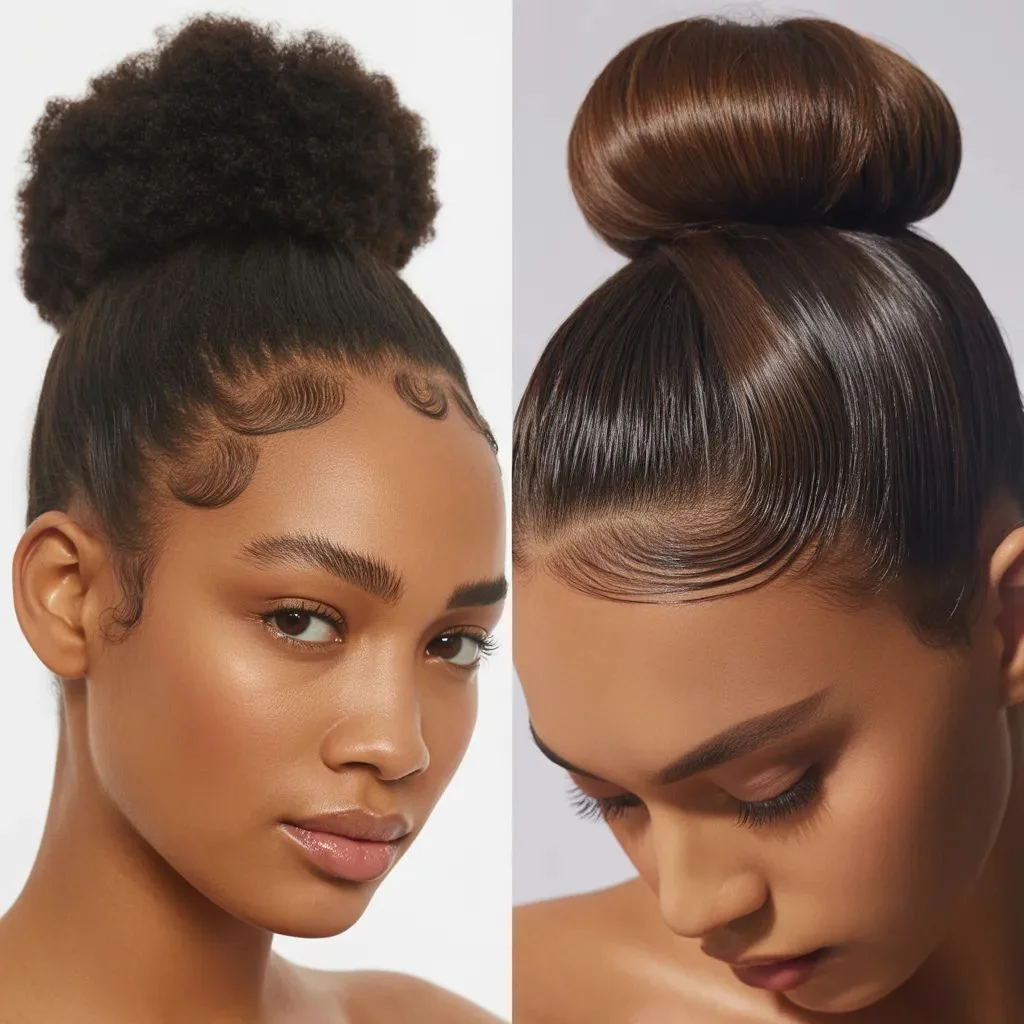
Slick back bun hairstyles are one of the most versatile looks in the beauty world — clean for work, elegant for events, and easy enough for everyday wear. But natural and relaxed textures each come with their own structural differences and knowing that changes everything about how you approach the style.
Natural hair has more curl elasticity, which means it can snap back when stretched incorrectly. Relaxed hair, on the other hand, has been chemically altered to reduce that curl pattern — making it more fragile and prone to breakage when too much tension is applied. Both hair types can absolutely rock a sleek bun, but they need different moisture levels, hold products, and styling techniques to do it safely.
The key principle is this: hydration before hold. A slick bun doesn’t mean dry, stretched hair — it means well-moisturized hair that’s been smoothed intentionally. That shift in mindset is what separates a professional-looking bun from one that damages your hairline over time.
Tools and Products You Need Before You Start
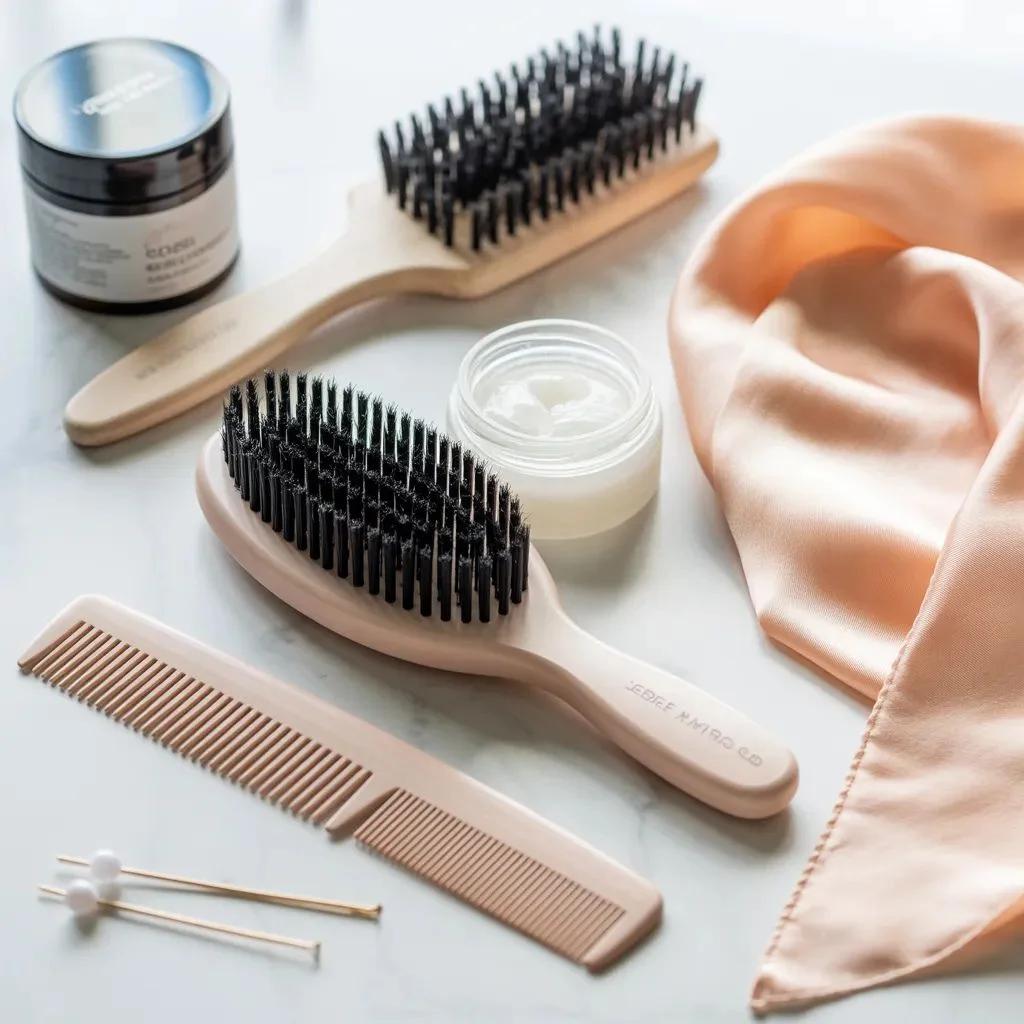
Attempting a slick bun without the right arsenal usually ends in frustration. Before you touch your hair, gather everything so you’re not mid-style and scrambling for a product.
Essential Tools
• Boar bristle brush or edge brush: A boar bristle brush distributes natural oils and smooths the hair shaft without creating friction damage. An edge brush handles the hairline with precision.
• Fine-tooth comb: Used to section hair cleanly and smooth out bumps before brushing.
• Soft-hold elastic or scrunchie: Avoid tight rubber bands — they cause breakage at the point of contact, especially on relaxed hair.
• Bobby pins and hair clips: Essential for securing flyaways and shaping the bun once it’s in place.
• Satin or silk scarf: For laying your edges and smoothing the overall style while products set.
Products That Work for Both Hair Types
• Gel (strong hold): Look for formulas that dry clear and don’t flake. Gel is what gives you that mirror-smooth finish on the top of the hair.
• Edge control: Thicker than gel, designed specifically for the hairline and baby hairs.
• Leave-in conditioner or moisturizer: Applied before gel to ensure hair is hydrated, not just stiff.
• Hair serum or light oil: A drop added over gel before wrapping with a scarf adds shine and helps the style lay flat without feeling crunchy.
How to Prep Natural Hair for a Slick Bun
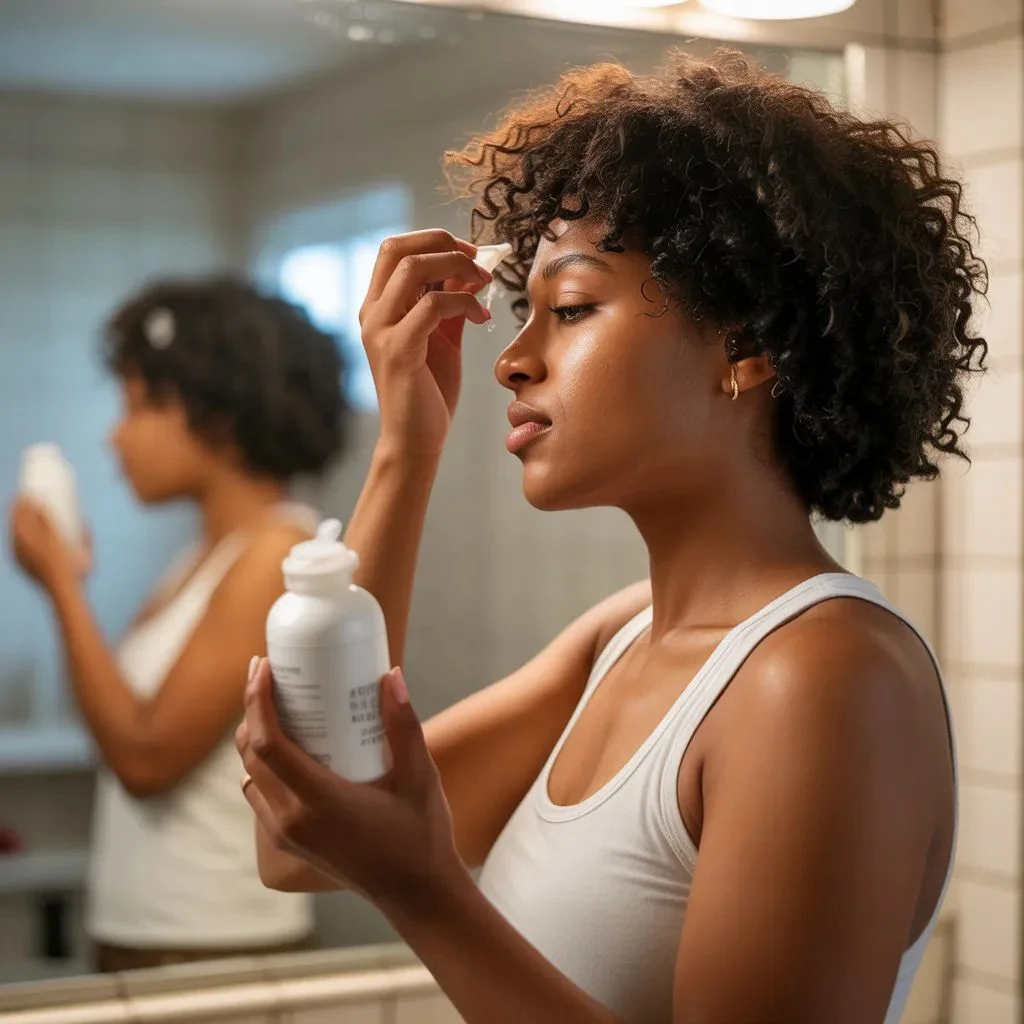
Natural hair needs moisture and stretch before it can be slicked back smoothly. Going in on dry, shrunken curls almost always creates frizz and tension — which is how edges get damaged over time.
Wash Day Prep
Start with freshly washed and deep-conditioned hair. Deep conditioning replenishes moisture after cleansing and makes the hair more pliable when you go to smooth it back. Rinse with cool water to seal the cuticle — this alone reduces frizz before any product is applied.
Stretch Before Styling
Natural hair coils back to its curl pattern quickly. If you want a smooth, bump-free bun without heat, try the tension method while blow-drying on low or medium heat. Use a wide-tooth comb to gently stretch sections away from the scalp as the dryer follows. This stretches the curl without stripping it — making it easier to slick back without breakage.
Moisture Layering on Natural Hair
Apply your leave-in conditioner while hair is still slightly damp. Follow with a light oil like jojoba or sweet almond oil, then apply gel on top. This LOC or LCO layering method (Liquid, Oil, Cream — or swapped) ensures the moisture doesn’t evaporate once the gel dries. Your bun will look sleek instead of crunchy or dull.
How to Prep Relaxed Hair for a Slick Bun
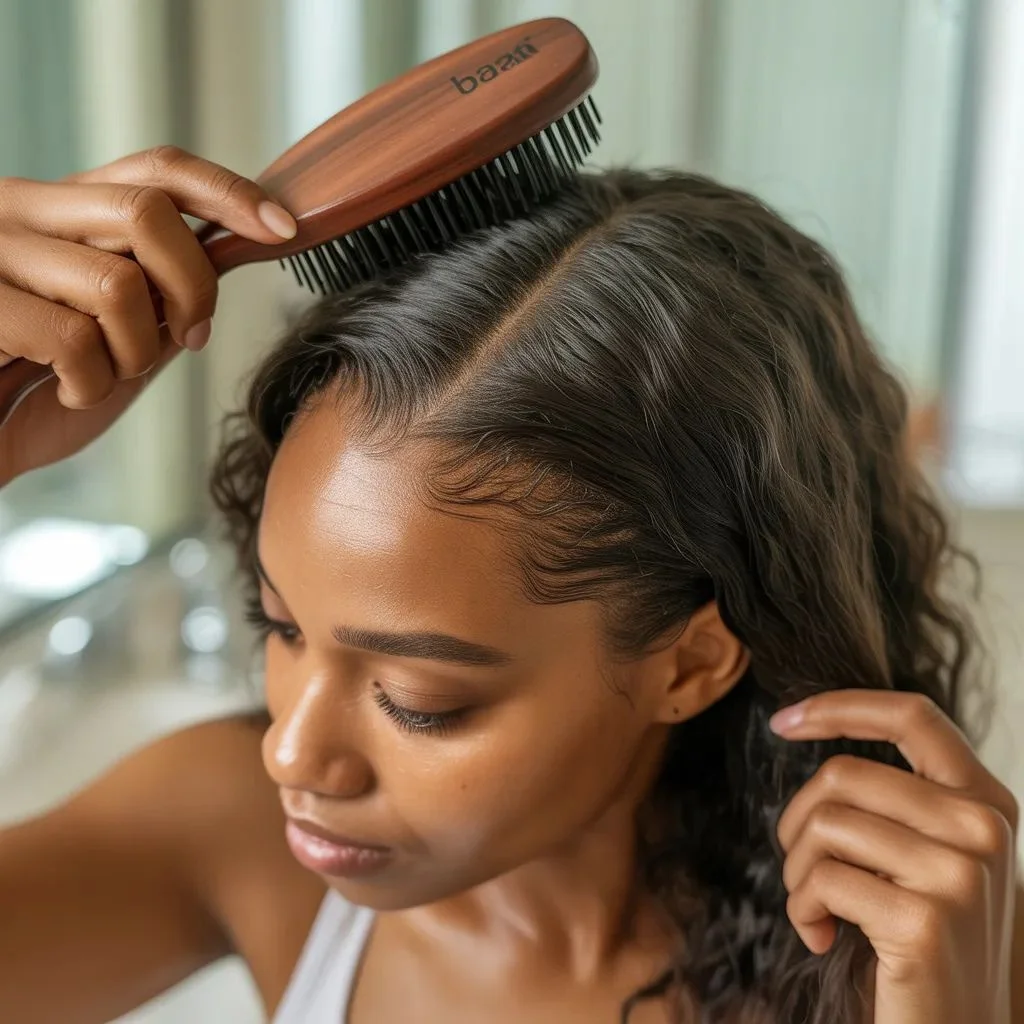
Relaxed hair responds differently to tension. The chemical process has altered the hair’s protein bonds, making it more vulnerable to breakage — especially when it’s dry or pulled too tightly. Prepping properly protects both your strands and your edges.
Prioritize Protein and Moisture Balance
Relaxed hair thrives when it has a strong protein-moisture balance. Before attempting slick back bun hairstyles, incorporate a protein treatment into your routine every 4–6 weeks. Protein strengthens the hair shaft and reduces breakage during manipulation. Follow every protein treatment with a moisturizing conditioner to prevent brittleness.
Work on Slightly Damp Hair
For relaxed hair, styling on slightly damp or freshly moisturized hair gives the most flexibility. Completely dry relaxed hair can feel rigid and is more likely to snap under tension. Lightly mist your hair with water or a water-based leave-in before pulling it back, and the hair will lay flat more easily without requiring extreme force.
Mind Your New Growth
The new growth area — where your natural texture meets the relaxed portion — is the most fragile point on relaxed hair. Apply edge control or a strong-hold gel directly to this zone and smooth it down gently with a soft brush. Never pull from this area. Instead, guide it into place using the brush’s bristles with minimal tension.
Step-by-Step Guide to Styling Slick Back Bun Hairstyles
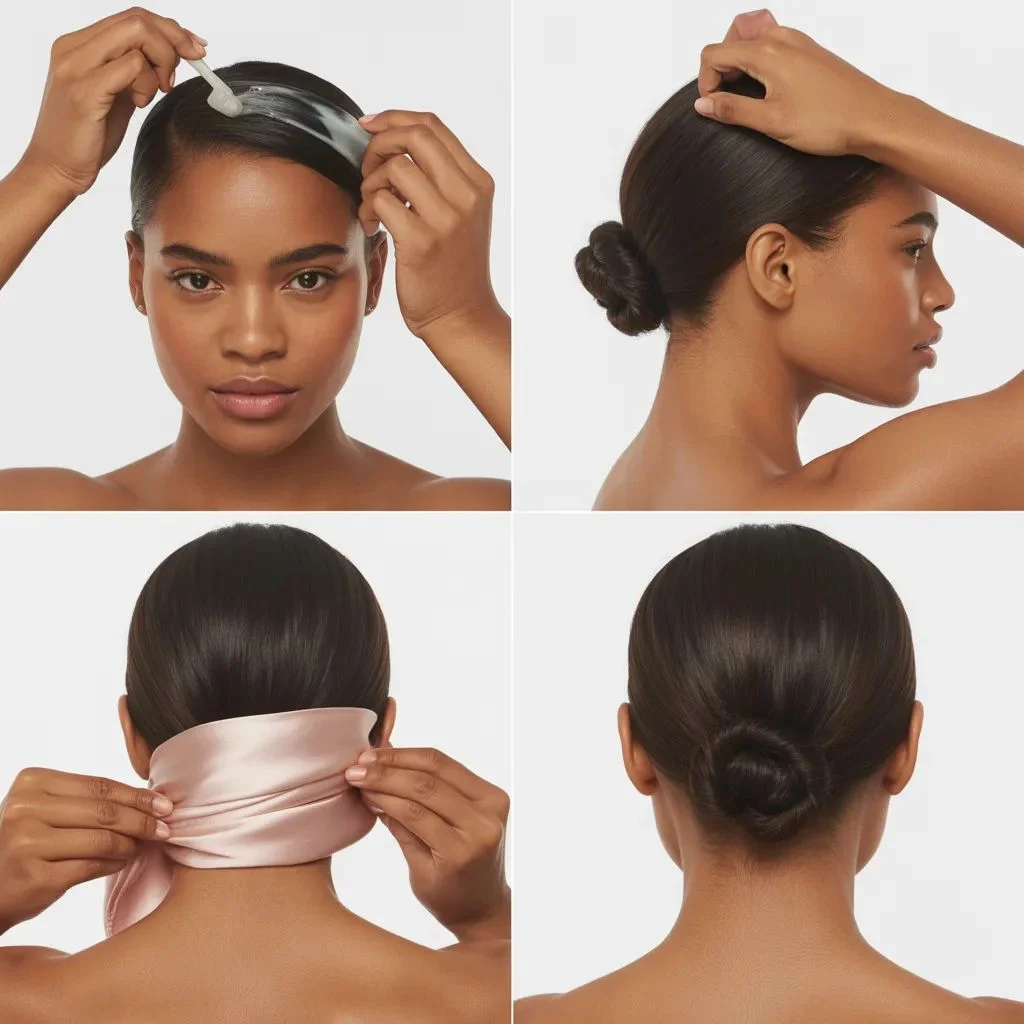
Once your hair is prepped and moisturized, the actual styling process is more straightforward than most people expect. Follow these steps whether your hair is natural or relaxed.
Step 1 — Apply gel from root to tip. Working in sections, apply a generous amount of strong-hold gel from the roots and smooth it toward the ends. Use your fingers first to distribute, then follow with a boar bristle brush to smooth the surface.
Step 2 — Gather and position your hair. Use a wide-tooth comb to gather all hair at your desired bun position — high, mid, or low. Hold the gathered hair firmly but without jerking it.
Step 3 — Secure with a soft elastic. Loop a soft-hold elastic around the hair two to three times. Avoid tight rubber bands that dig into the hair shaft.
Step 4 — Shape the bun. Twist the ponytail and wrap it around the base. Tuck the end underneath and secure with bobby pins. For a neater finish, apply a small amount of gel to the bun itself and smooth with your hand.
Step 5 — Lay your edges. Apply edge control to your hairline using an edge brush. Brush in the direction of your desired edge pattern. For a clean look, simply brush edges flat. For styled edges, create small swoops or curves.
Step 6 — Wrap with a satin scarf. Wrap your hairline and the top of the bun with a satin or silk scarf for 10–15 minutes. This lets the gel and edge control fully set without disturbing the style.
Step 7 — Reveal and finish. Remove the scarf gently. If any areas have lifted, apply a small amount of gel and re-wrap for another 5 minutes. Finish with a light serum or oil for shine.
Bun Variations to Try Based on Your Hair Length
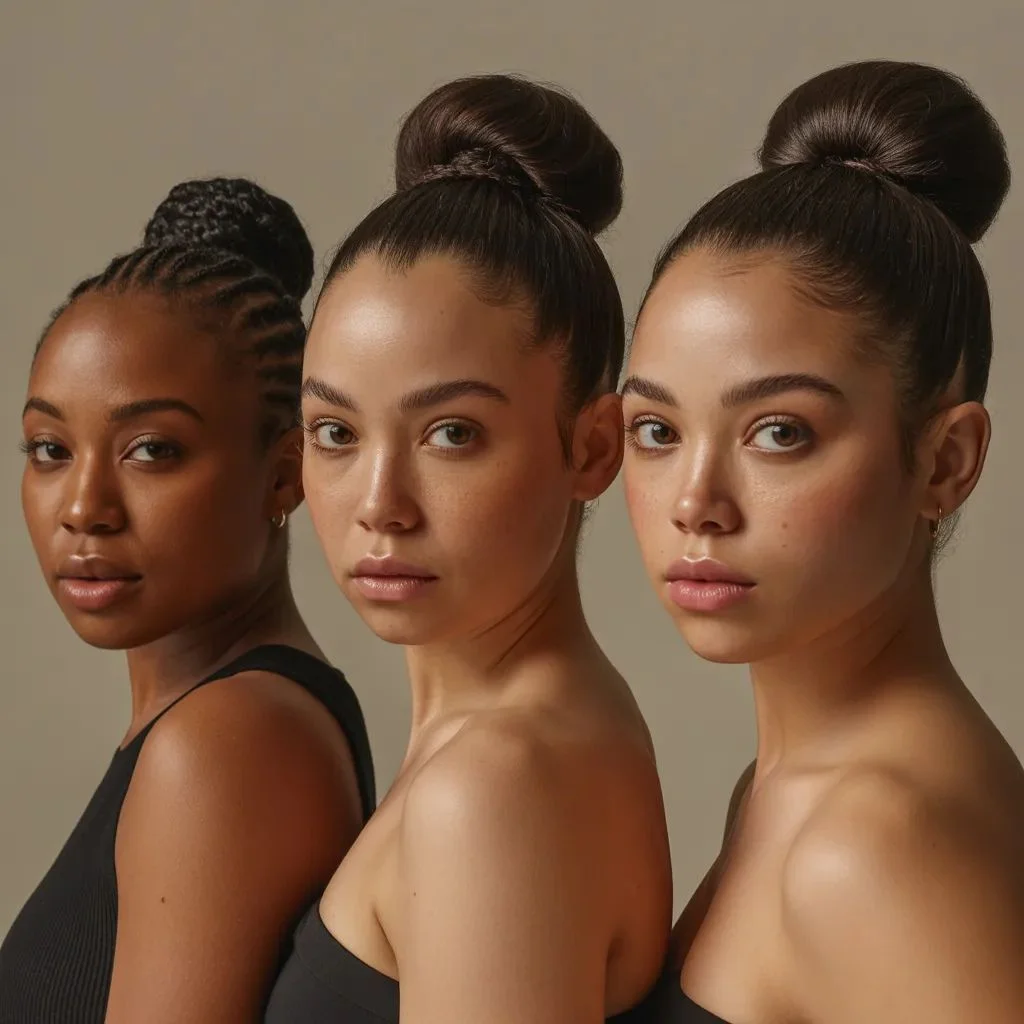
One of the best things about slick back bun hairstyles is how well they adapt to different lengths. Here are variations that work beautifully for short, medium, and long hair.
Short Hair: Sleek Mini Bun
Even short hair — TWA length or shoulder-grazing relaxed cuts — can form a tiny, sculptural bun. Apply gel generously and pull all hair to the nape or top of the head. What doesn’t reach the bun can be pinned flat or shaped into a swoop at the sides. The result looks intentional and polished.
Medium Hair: Classic High Bun or Low Chignon
Medium-length hair has the most flexibility. A high slick bun adds height and drama, making it a great choice for formal occasions. A low chignon sits at the nape and feels more understated — ideal for office settings or brunch. Both look equally sharp when the slick technique is applied correctly.
Long Hair: Ballerina Bun or Double Bun
Long natural or relaxed hair gives you room to create a full, voluminous bun. The ballerina bun — high, round, and tight — is the ultimate power look. For something more playful, try double buns positioned at each side of the crown. Use a bun donut or foam form to add structure and fullness if your hair doesn’t have enough thickness on its own.
How to Keep Your Slick Bun Fresh Overnight
Maintaining a sleek bun overnight is about protecting what you’ve built without pulling your edges or drying out your hair. A proper nighttime routine can extend a single style for multiple days.
Wrap your hairline and edges in a satin-lined bonnet or tie a satin scarf around your head each night. The satin fabric reduces friction against your edges — which is one of the leading causes of thinning and breakage along the hairline. Avoid cotton pillowcases, as they absorb the moisture from your hair and cause frizz to return much faster.
If your edges have come loose by morning, simply re-apply a small amount of edge control, brush down with an edge brush, and rewrap for 5–10 minutes. You don’t need to redo the entire bun — just refresh the areas that have lifted.
Common Mistakes That Ruin a Slick Bun and How to Fix Them
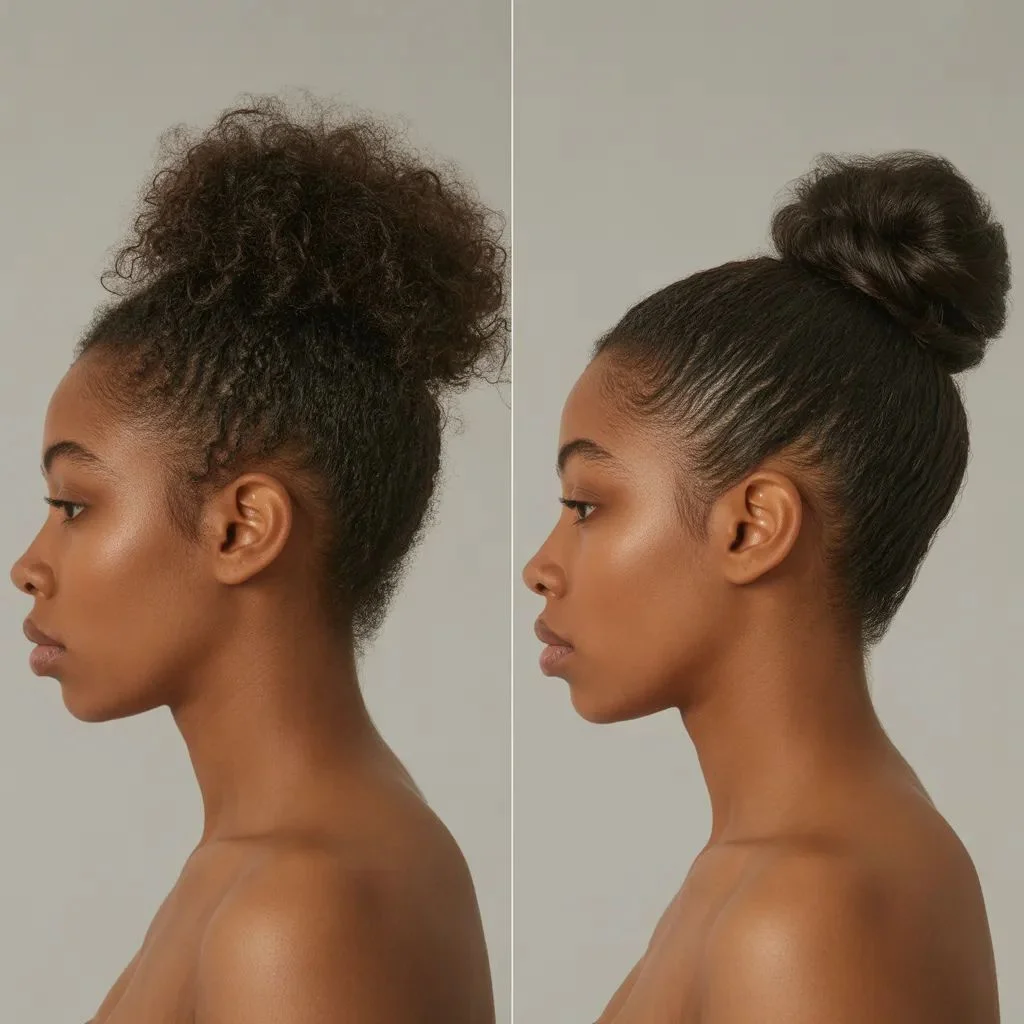
Even with the right products, small errors in technique can keep your bun from looking its best. These are the most common problems and how to correct them.
• Skipping moisture before gel. Gel applied on dry hair creates a hard, flaky finish and makes the hair look dull. Always layer a moisturizer or leave-in under your gel.
• Pulling the elastic too tight. A too-tight ponytail stresses the hairline and can cause traction alopecia over time. Your bun should feel secure — not painful.
• Using the wrong brush. Hard-bristle brushes on fine or fragile relaxed hair can cause immediate breakage. Stick to a boar bristle brush for smoothing.
• Not wrapping after styling. Skipping the satin scarf step means your edges won’t fully set. Always wrap for at least 10 minutes — this makes a visible difference in how flat the style lays.
• Over-applying edge control. Too much product causes a buildup that looks thick and white. Use a pea-sized amount and build only if needed.
• Ignoring flyway’s on the bun itself. A sleek scalp with a frizzy bun looks unfinished. Apply gel to the bun and smooth with your palm before wrapping.
Smooth Edges, Stunning Finish
Slick back bun hairstyles are one of the most rewarding styles to master. Once you understand how your hair texture responds to moisture, hold, and tension — whether natural or relaxed — the rest is just technique. And technique improves with every try.
Start with properly moisturized hair, use the right tools, and never skip the scarf wrap. Your edges will stay full, your bun will stay smooth, and you’ll have a go-to style that works for everything from a Monday morning meeting to a Saturday evening out.
The cleaner the prep, the slicker the style. Give it one try using this guide and see the difference for yourself.
Recommended: Slick Back Hairstyles for Women Who Mean Business.