10 New Year’s Nail Designs That Are Actually Easy to Do at Home
Forget the booking fee and the two-week wait — the most stunning New Year’s Eve nails of the season can happen at your kitchen table. With a few key polishes and a steady hand (or a helpful tool), you can pull off salon-worthy new years nail designs without ever leaving home.
Most people assume great nail art requires professional training. It doesn’t. The 10 designs below are built for real people with real skill levels — from pure beginners to anyone who’s watched one too many nail tutorials at midnight. Each one is festive, wearable, and honestly impressive enough to photograph.
Whether you’re heading to a party or celebrating from your couch, these new years nail designs will make sure your hands look as ready for midnight as you do.
1. Gold Glitter Tips
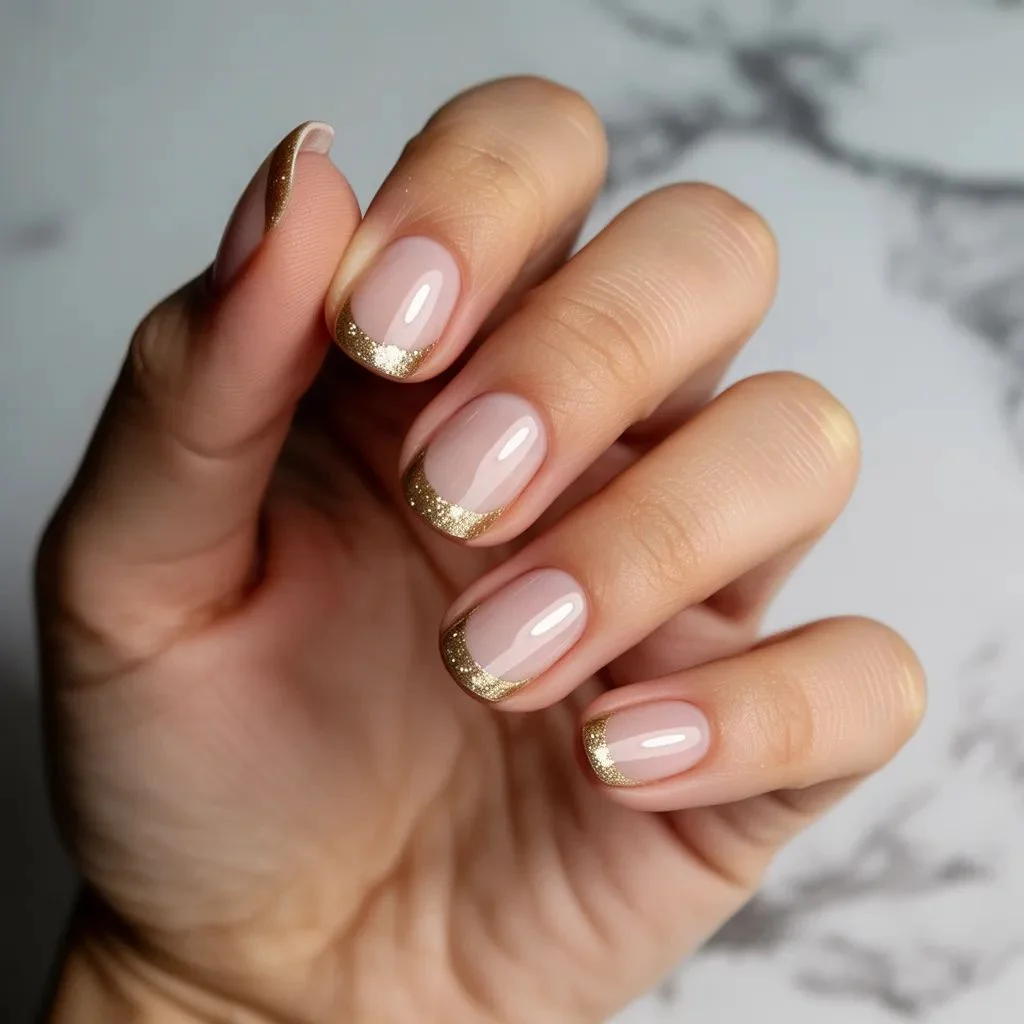
Gold glitter tips are the easiest upgrade you can make to a plain nude or clear base. They look expensive, photograph brilliantly under party lights, and take less than 10 minutes to do. This is the go-to for anyone who wants maximum impact with minimum effort — and it’s one of the most popular new years nail designs for good reason.
How to Do It
• Apply a nude or sheer pink base coat and let it dry fully.
• Dip a fan brush or sponge applicator into a chunky gold glitter polish.
• Dab the glitter onto the top third of each nail, building up coverage gradually.
• Layer a second coat for extra density near the very tip.
• Seal with a thick, glossy topcoat to lock in the glitter and smooth any texture.
• Clean up the edges with a small angled brush dipped in acetone.
Pro Tip: Apply your topcoat in slow, smooth strokes — rushing it drags the glitter and creates a bumpy finish.
2. Classic Red with Gold Accents
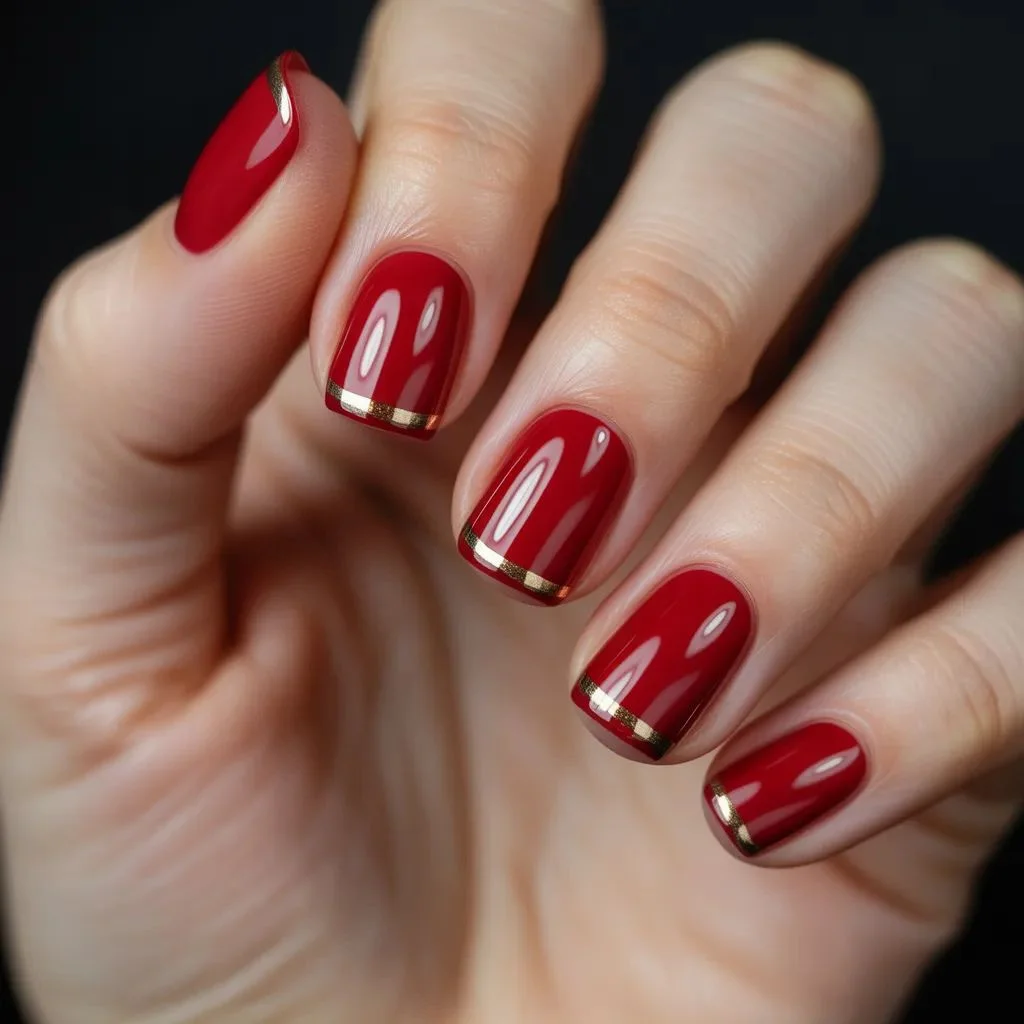
Red nails are a New Year’s Eve staple for a reason — bold, timeless, and flattering on every skin tone. Adding a gold accent element (a stripe, a dot, or a fine glitter line near the cuticle) takes them from classic to genuinely striking. This design works for every nail length and requires nothing more than a red polish and a thin nail art brush.
How to Do It
• Apply two coats of a high-shine red polish. Let each coat dry before layering.
• Once fully dry, load a thin nail art brush with a gold metallic polish.
• Paint a clean, thin stripe down the center of each nail or along the side edge.
• Alternatively, place a single gold dot near the cuticle on each nail for a minimal approach.
• Finish with a glossy topcoat to blend the elements together.
Pro Tip: If your freehand line isn’t perfectly straight, a striping tape placed before the gold layer gives you a crisp result every time — peel it off while the polish is still slightly wet.
3. Chrome French Tips
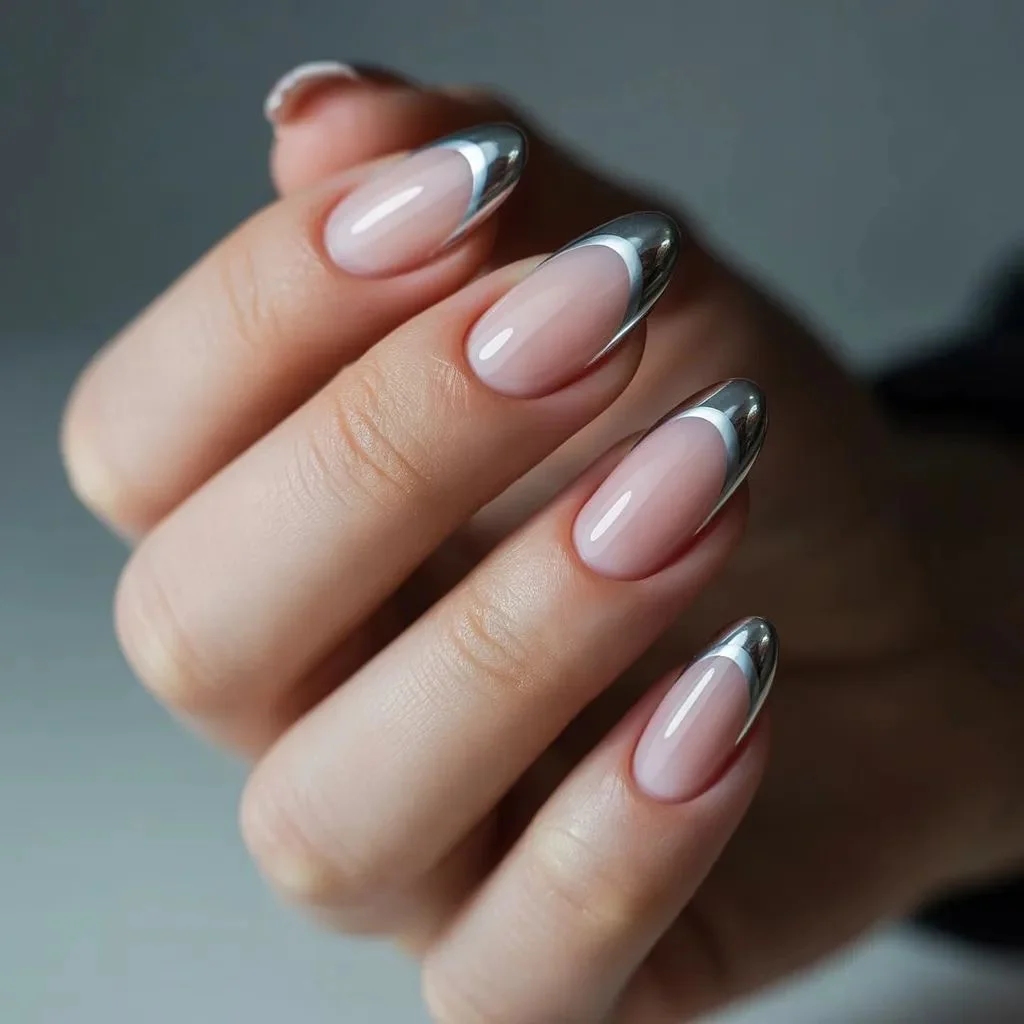
The French manicure got a full overhaul for NYE. Swapping the traditional white tip for a mirrored silver or chrome finish makes the look feel futuristic and festive without being loud. Chrome French tips are one of the biggest nail art trends right now, and the good news is they’re easy to recreate with chrome powder and a silicone applicator — no gel lamp required for the base look.
How to Do It
• Apply a soft nude or blush base coat and allow it to cure or dry completely.
• Using a thin brush, paint a clean crescent or straight tip in a sheer white or clear polish.
• While the tip is still slightly tacky, use a silicone applicator or eyeshadow brush to buff chrome powder directly onto the tip.
• Tap and buff in circular motions until the metallic mirror effect appears.
• Apply a gel top coat or thick regular top coat to seal and protect the chrome finish.
Pro Tip: Chrome powder works best on a smooth, fully prepped nail. Any ridges or imperfections will show through the metallic finish, so buff your nails before you start.
4. Glazed Nude Nails
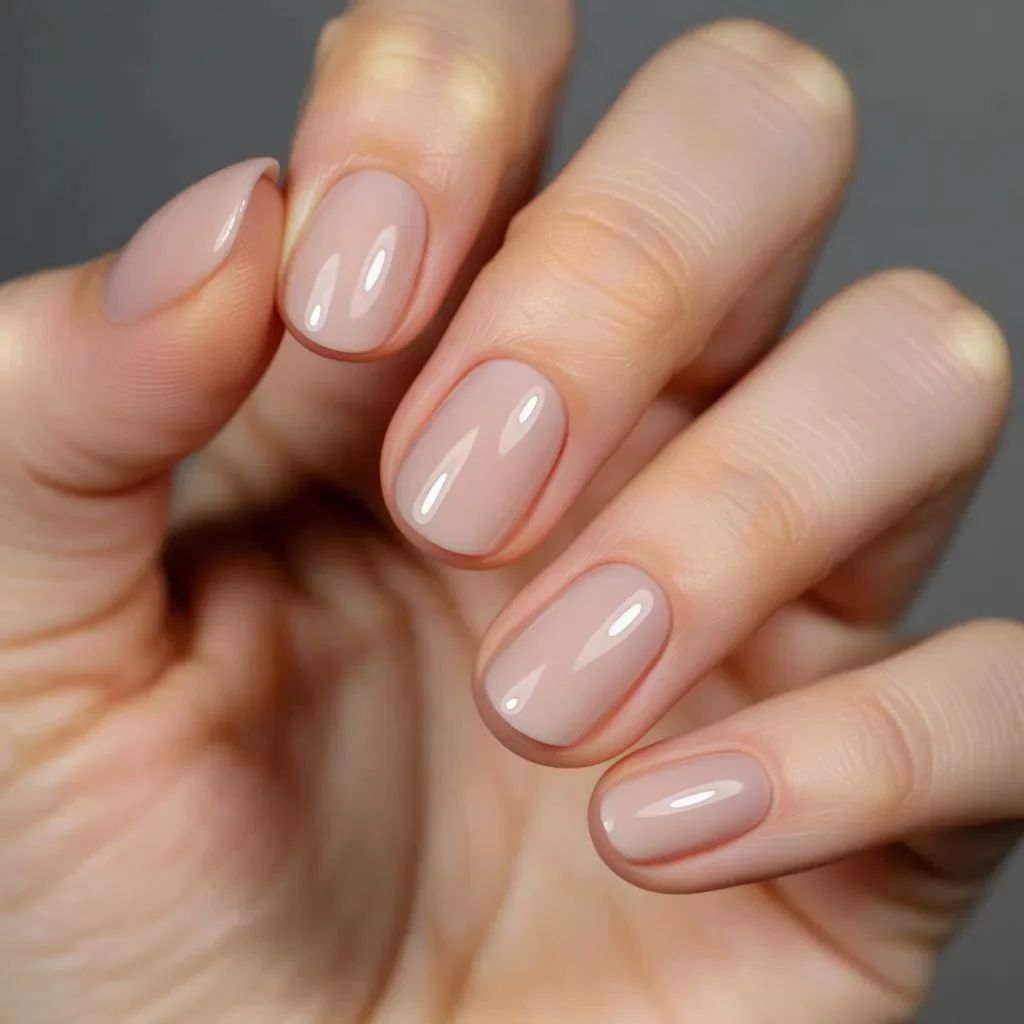
If glitter and chrome feel like too much, glazed nude nails are your answer. Sometimes called ‘glazed donut nails,’ this look uses a sheer milky base with a high-shine top coat to create a luminous, barely-there glow that looks effortlessly polished. It’s one of the most wearable new years nail designs — elegant enough for a formal event, understated enough to wear for weeks after.
How to Do It
• Start with a sheer milky pink or translucent nude polish as your base — two coats for even coverage.
• Let it dry completely before moving on.
• Apply a chrome or pearl-finish topcoat (many brands sell a ‘glass’ or ‘glazed’ topcoat specifically for this effect).
• Add a second layer of the topcoat once the first is dry for extra depth and shine.
• Finish with a standard high gloss topcoat to lock everything in.
Pro Tip: The secret to the glazed finish is layering — one coat of a shiny topcoat won’t give you the full effect. Two to three thin layers build the luminous depth that makes this look so striking.
5. Midnight Navy with Silver Stars
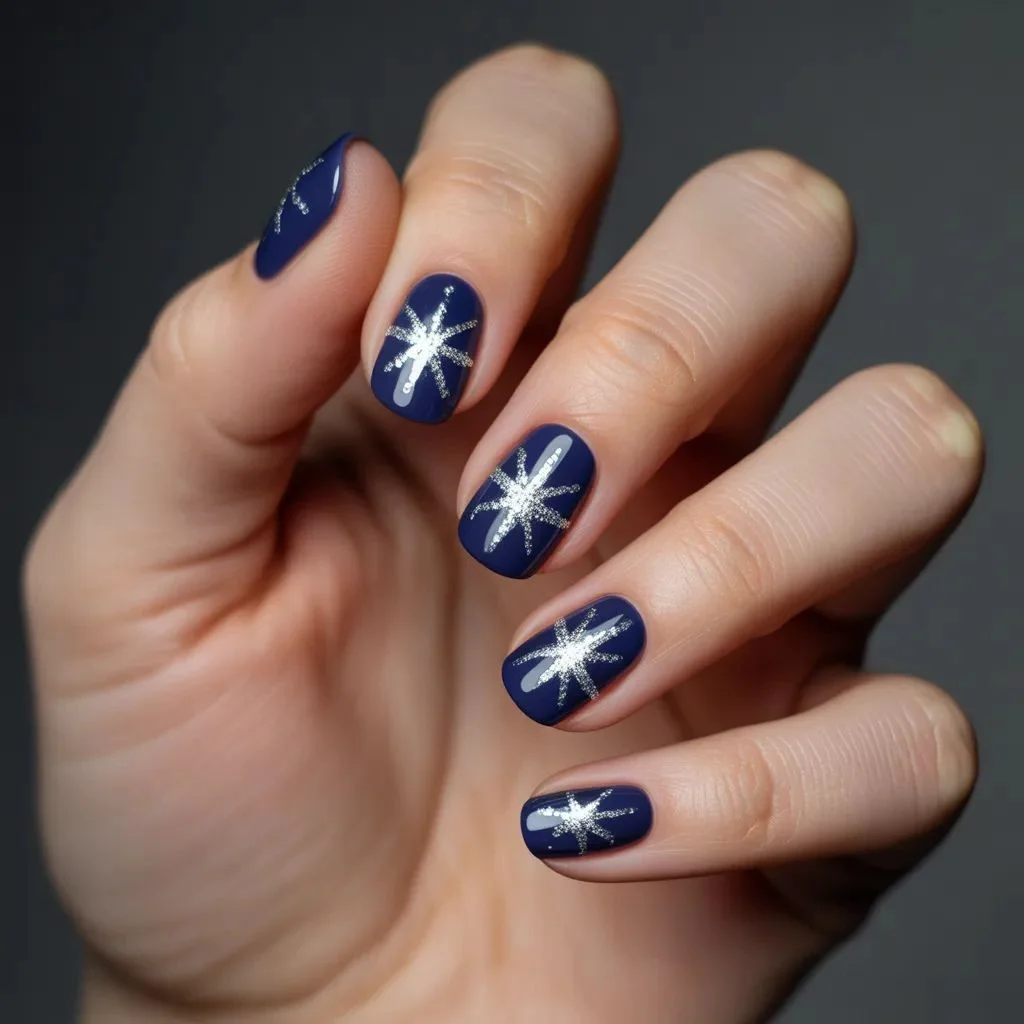
Deep blue nails are a fresh alternative to the usual black or red for New Year’s Eve. A midnight navy base with hand-painted or stamped silver stars gives you a night-sky effect that feels wintry, dramatic, and completely unique. This design has been trending across social media as a sophisticated way to capture the countdown-to-midnight energy without leaning into cliché.
How to Do It
• Apply two coats of a deep midnight navy polish and let it dry fully.
• Use a thin nail art brush dipped in silver metallic polish to paint small five-pointed stars scattered across each nail.
• Vary the size of the stars — a mix of large and tiny ones looks more natural and dimensional.
• Add tiny dot accents between the stars using the tip of a dotting tool.
• Seal with a glossy topcoat to bring the design forward and add shine.
Pro Tip: Not confident in freehand stars? Use a nail stamping plate with a star pattern — it takes the guesswork out and gives you a uniform, salon-clean result in seconds.
6. Pink Glitter Gradient
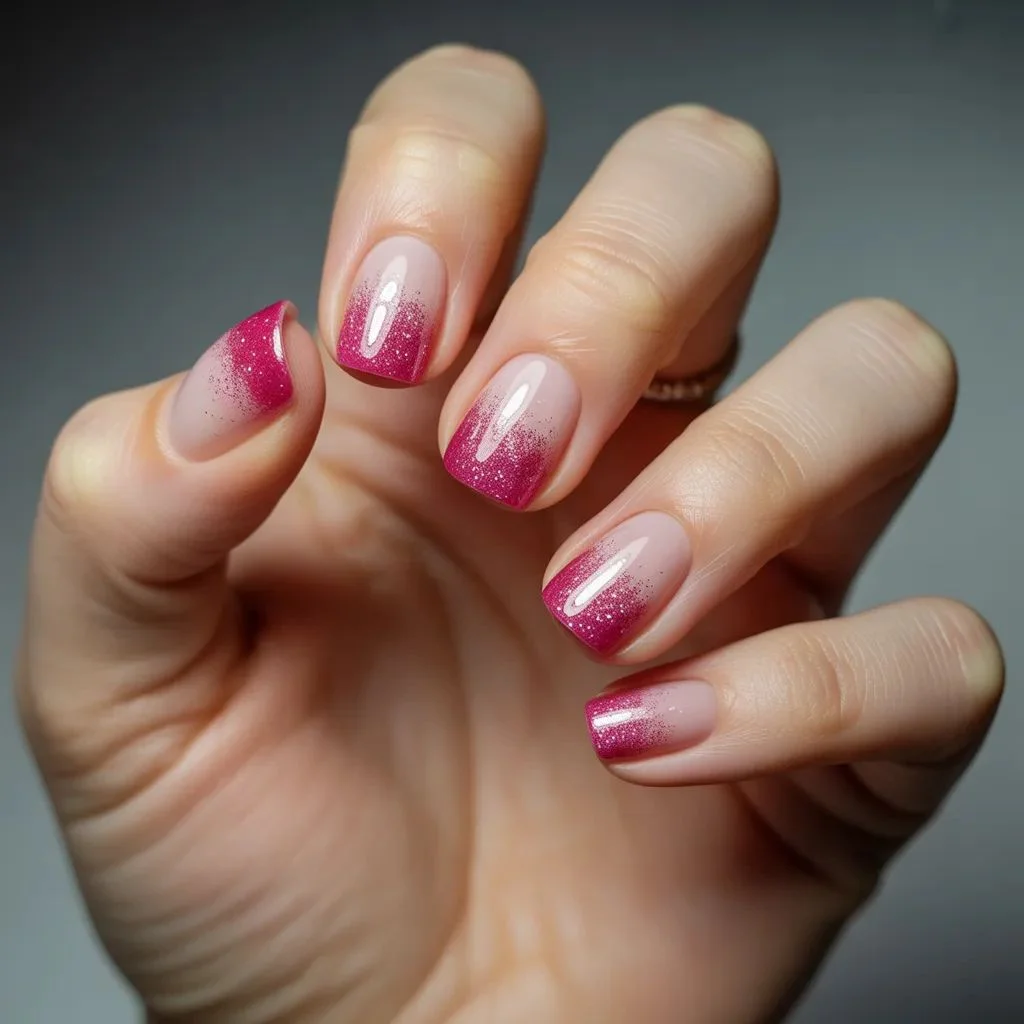
Pink and glitter is the most festive combination for anyone who loves color without going fully bold. The gradient effect — glitter concentrated at the tips and fading toward the base — gives this look real depth and movement. It’s playful, eye-catching, and one of the most forgiving designs on this list because the gradient style naturally hides any uneven application.
How to Do It
• Apply a bright or dusty pink base coat in two even layers. Let it dry.
• Load a small makeup sponge with a fine pink or holographic glitter polish.
• Dab the sponge onto the tip of each nail, pressing lightly and moving slightly down toward the center to create the gradient fade.
• Build up the intensity at the very tip with a second sponge application.
• Finish with a smooth, thick topcoat to seal the glitter flat and create a polished surface.
Pro Tip: Use a makeup sponge rather than a brush for the gradient — the porous texture breaks the glitter up naturally and blends it more softly than any brush can.
7. Black with White Swirls
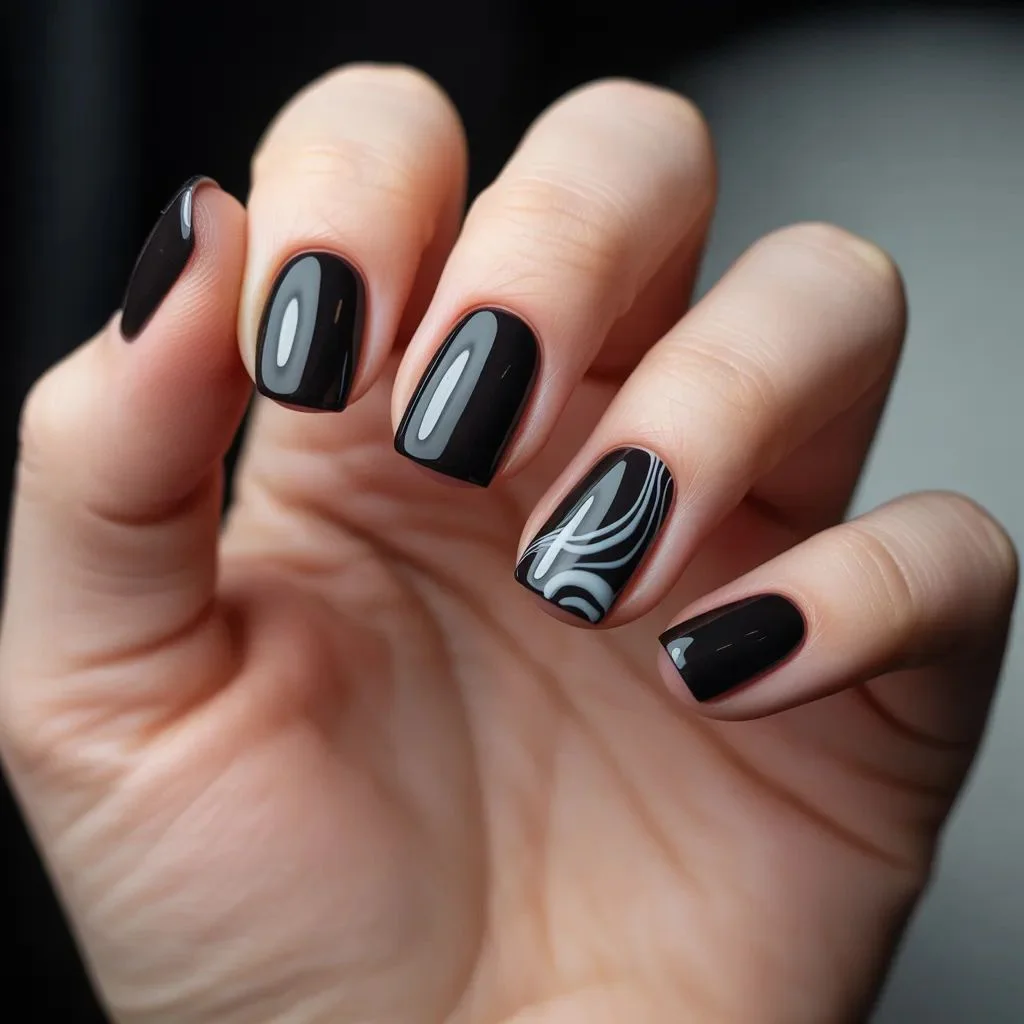
For anyone drawn to something artistic and bold, black nails with white swirl details are a standout choice. The contrast is striking, the swirls add a handcrafted quality that looks intentional and creative, and the design works on any nail shape or length. Best of all, swirls are more forgiving than straight lines — the organic, flowing quality means slight imperfections read as part of the design.
How to Do It
• Apply two coats of a glossy jet-black polish. Let it dry completely.
• Dip a thin nail art brush into a white nail art gel or polish.
• Starting from the cuticle area, paint fluid, curved lines that loop and flow across the nail — no need to overthink the pattern.
• Add smaller secondary loops and swirls to fill the space.
• Seal with a glossy topcoat to prevent chipping and add depth to the white lines.
Pro Tip: Practice your swirl pattern on paper first. A few confident, flowing strokes look far better than many hesitant, overworked ones.
8. Coquette Pearl and Bow Nails
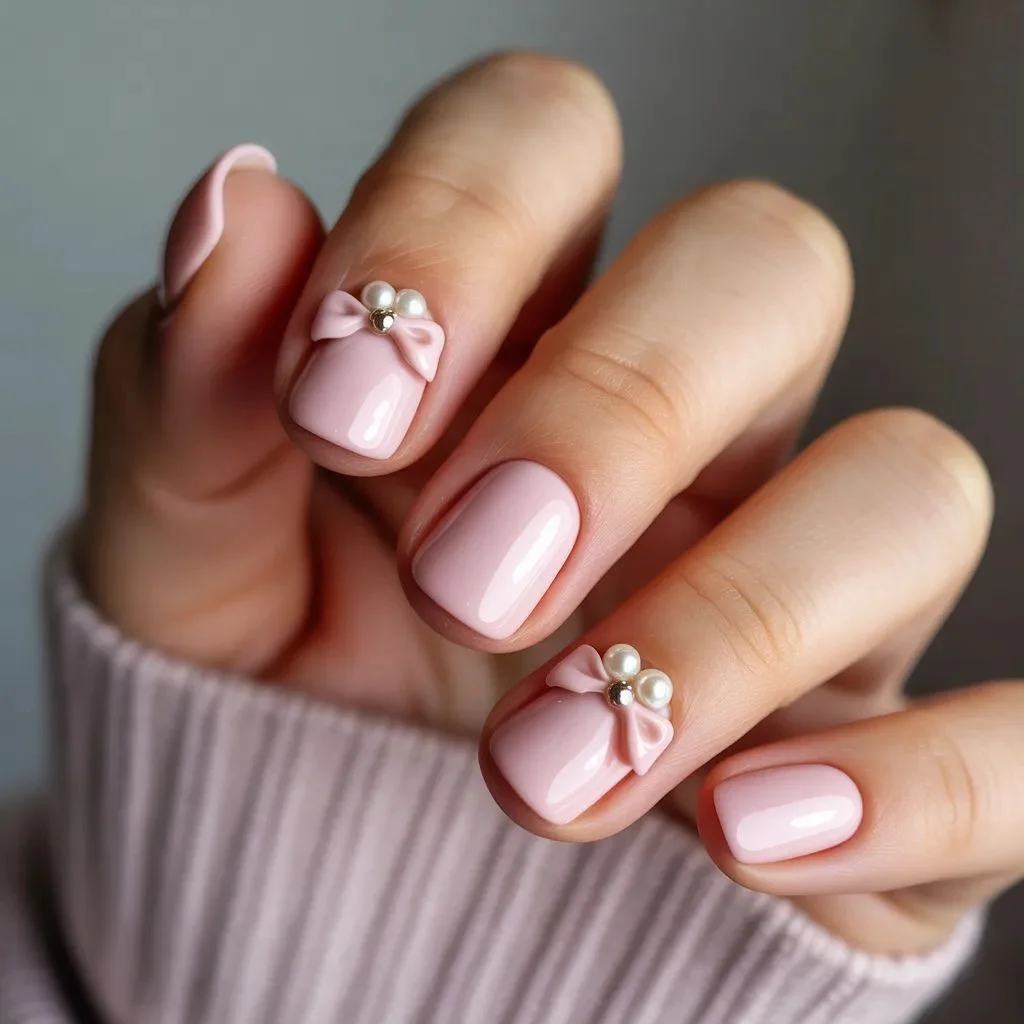
Soft, feminine, and seriously charming — coquette nails are everywhere right now, and they translate perfectly to New Year’s Eve with the right details. A blush or pastel base topped with tiny pearl beads and miniature bow nail stickers gives you something that feels romantic and celebratory without a drop of glitter. This design has been a standout on social media all season.
How to Do It
• Apply two coats of a soft blush, lavender, or milky white base. Let dry.
• While the second coat is still slightly tacky, use a dotting tool to place tiny pearl nail gems near the base of each nail.
• Apply a small bow nail sticker to one or two accent nails.
• Gently press each pearl and sticker down with the dotting tool.
• Apply a top coat carefully over the flat surfaces — avoid rolling the top coat brush directly over raised gems.
Pro Tip: Seal the gems in place by applying the topcoat around (not over) each pearl first, then add a final thin layer across the whole nail once everything is secure.
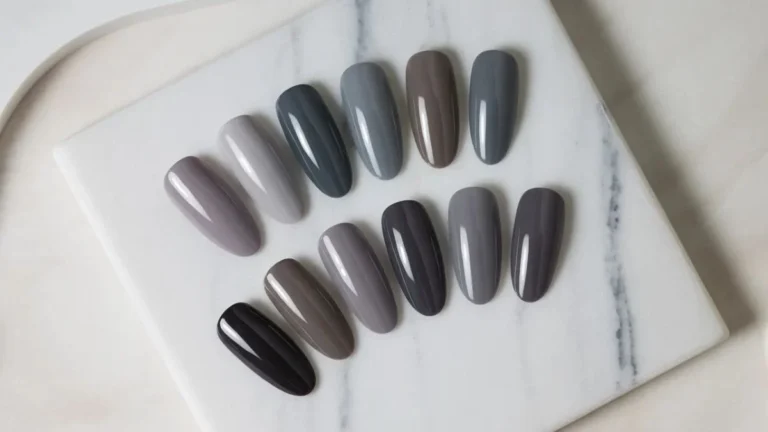
9. Jewel-Tone Velvet Finish
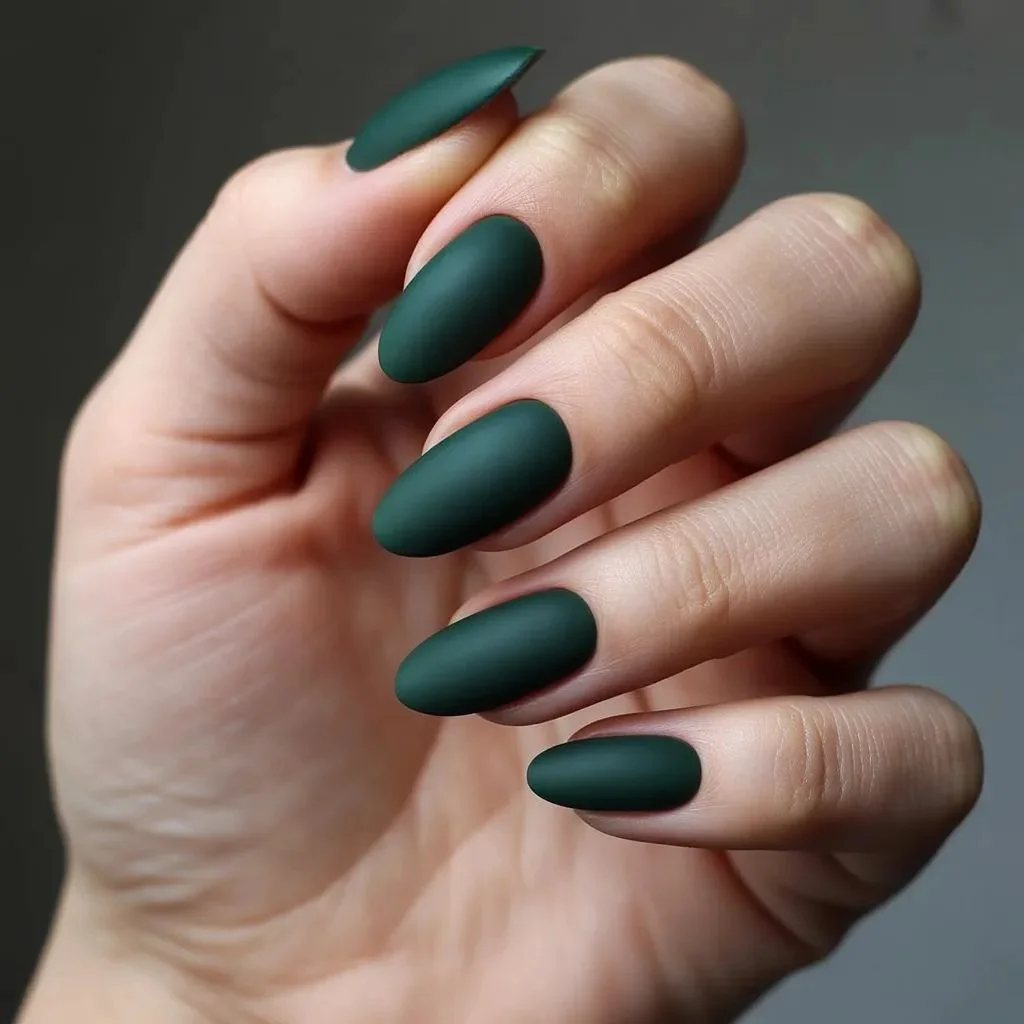
Rich, moody, and absolutely luxurious — jewel-tone nails in deep forest green, sapphire, or burgundy with a velvet matte finish are one of the most sophisticated new years nail designs on this list. The velvety texture is achieved with a matte top coat over a deep, saturated color, and the result looks like something pulled straight from a high-end editorial shoot.
How to Do It
• Apply two coats of a deep jewel-tone shade — forest green, sapphire blue, plum, or dark cherry all work beautifully.
• Let the color dry fully — any tackiness will show through the matte top coat.
• Apply one thin, even layer of a matte top coat over each nail.
• Let the matte coat dry without touching — fingerprints will mark the surface while it sets.
• For extra dimension, apply a thin line of chrome or holographic powder along the edge of one nail as an accent.
Pro Tip: If you want the velvet effect without the DIY, many brands now sell polish formulas that cure into a velvety matte finish in one step — no separate top coat needed.
10. Minimalist Silver Aura Nails
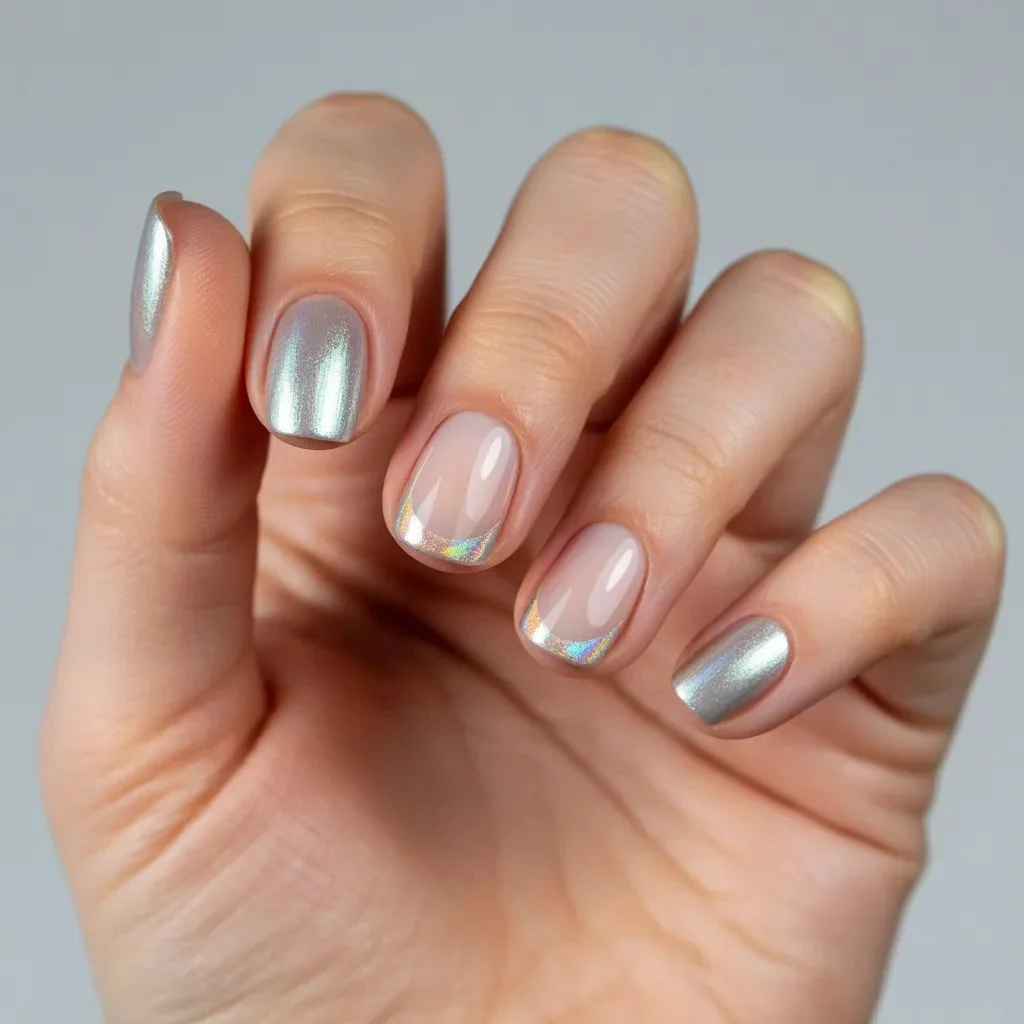
Aura nails flip the usual gradient concept — instead of color at the tips, the shimmer appears as a soft halo or glow effect around the edges, leaving the center of the nail sheer and clean. Done in icy silver or holographic tones, this design is minimalist, modern, and genuinely unlike anything else on this list. It’s the choice for anyone who finds most NYE nail art too busy but still wants something special.
How to Do It
• Apply a clear or sheer milky base coat.
• Using a small sponge or soft brush, apply a silver shimmer or holographic powder in a soft circular motion around the outer edges of each nail.
• Leave the center of the nail largely clear — the contrast between the glowing edge and the clean center is the whole effect.
• Blend the shimmer gradually so there’s no hard line.
• Finish with a glossy topcoat to lock in the shimmer and deepen the glow.
Pro Tip: Use a fine eyeshadow brush with chrome powder instead of a sponge for more precise control over where the shimmer is placed — especially helpful on shorter nails.
Quick Tips for a Flawless At-Home Manicure
Getting the design right matters — but so does the prep work underneath it. These basics make every new years nail design last longer and look sharper.
• Always start with clean, dry nails. Remove any old polish and wipe with a lint-free pad dampened with acetone before you apply base coat.
• Use a base coat every time. It protects your nails, helps polish adhere better, and prevents staining — especially from dark or glitter shades.
• Thin coats, always. Two thin coats dry faster, last longer, and look smoother than one thick coat that takes forever to cure.
• Cap the free edge. Swipe your polish across the very tip of each nail to seal it — this one step significantly reduces chipping.
• Clean up edges with a small angled brush dipped in pure acetone for crisp, professional-looking lines.
• Finish with a quality topcoat and reapply it every two days to extend the life of your manicure.
Time to Paint Something Beautiful
There’s no reason your New Year’s Eve nails should look like an afterthought. Every one of these designs is within reach at home — no salon appointment, no long wait, and no overpaying. Pick your favorite, grab your polishes, and give yourself an hour before midnight. The results will surprise you.
Tried one of these looks? Drop it in the comments — we’d love to see what you created.
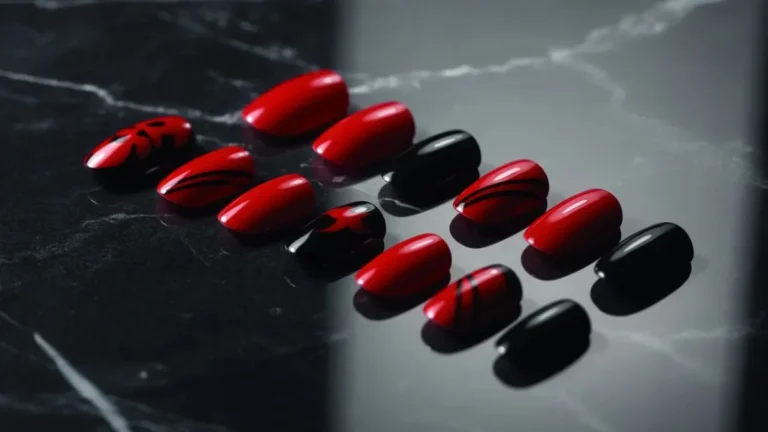
Recommended: Red and Black Nail Designs: 10 Looks That Go From Edgy to Elegant.